WOLF
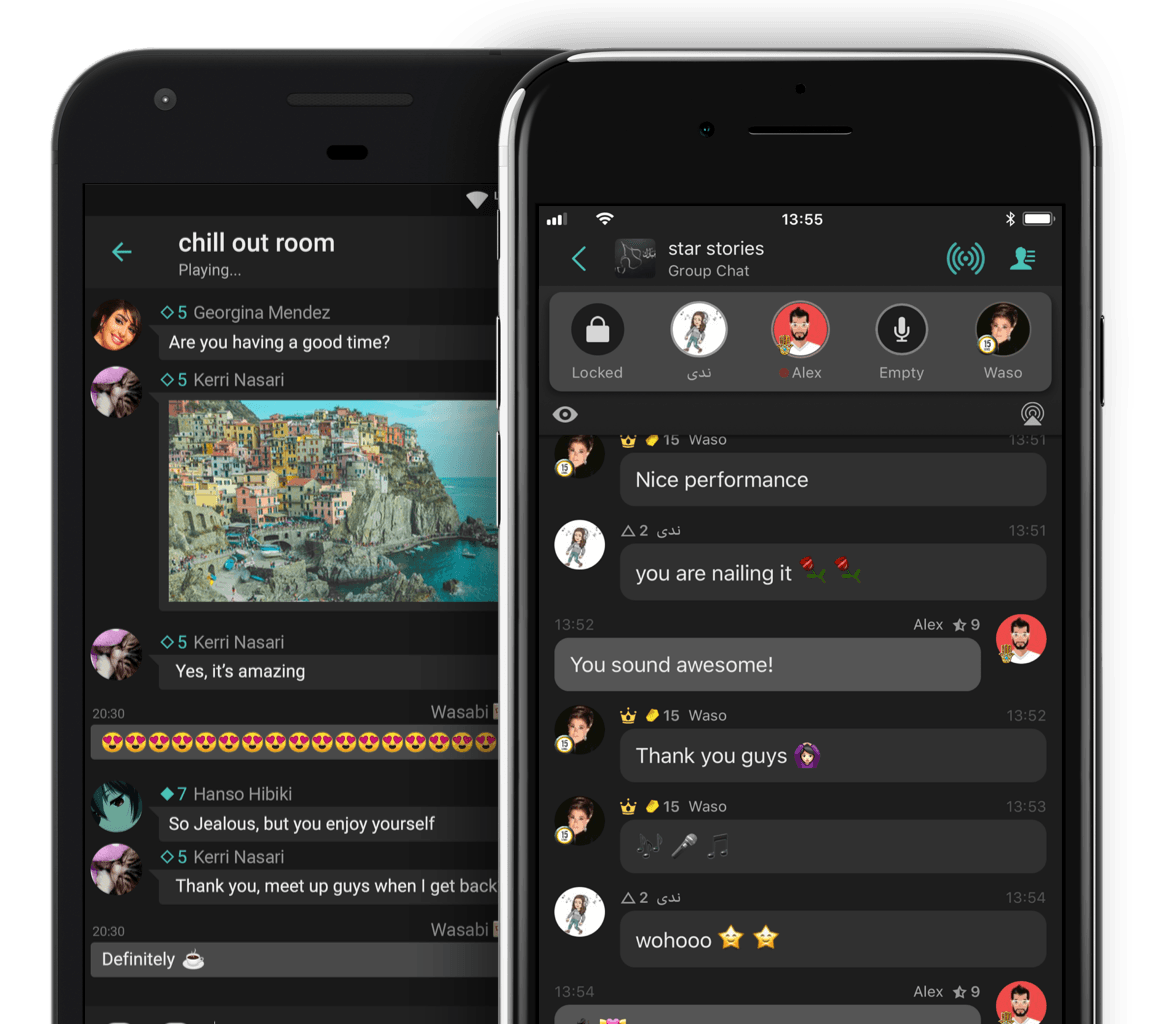
Wolf has been helping its fans express themselves for over 10 years by giving them a place to chat freely, create their own social spaces, and connect with people around the world. If you want to chat, entertain through audio, or just play games, we're here for you.


Together we’re Entertainers
Join our world of DJ sets, open-mic nights, chat shows, friendly banter, and more that's always right at your fingertips.

Be Who You Want to Be
You want a judgement-free on-line home, a Stage to call your own, and friends ready to cheer you on.

Together we’re Explorers
You’re not just here to chat about what you love. You’re looking for new experiences and new ways to express yourself whether that's making new friends or making a name for yourself on Stage.

Together we’re Players
Compete with friends in word games, brainteasers, and audio games. Or maybe you want to become a hero and save the world or reel in the biggest catch?

Together we're Stars
You want to make a name for yourself in the community and become one of WOLF's stars.